Search This Blog

Sunday, January 6, 2013

New Year's Eve: Nutty Chocolate Bread Pudding


Happy New Year!

The New Year bliss coupled with the winter chill has made me so lazy that I’ve found it impossible to get out of bed and into the kitchen let alone pick up my laptop and write. Don’t get me wrong… I absolutely love being in the kitchen and love writing about it even more… but it’s just too cold and obviously I am a teeny bit of a lazy bum :P But Wishes are good even when they are a bit late… Right? ;)

I did manage to get my lazy bum into the kitchen on New Year’s Eve to whip up an all time favorite desert (with a bit of twist) for the whole Fam! Left over Bread, Milk, Sugar and Eggs… Do you know where I am going with this? Yea… you guessed it …warm and comforting Bread Pudding. If you’re a big a chocolate fanatic as my entire family then you would be just as thrilled with this delicious rendition of the traditional bread pudding. I call it Nutty Choc Bread Pudding. I served this warm, luscious and comforting chocolaty heaven with a simple and fresh homemade custard sauce. I just can’t fathom the idea of using packet custard when it’s just so simple to make your own silky smooth custard from scratch. It’s healthier, tastier and as fresh as the winter wind. I am sure by the end of this you guys would agree with me and be anti – packet custard.

I was quite pleased with the end result (especially the taste). With that said, I do suggest that after about 30 minutes in the oven when the top starts looking a bit crusty, you cover it with a piece of tin foil to prevent over browning (and a more sophisticated appearance).

Hope you all had a fantastic start to the New Year and wishing you a fabulous year ahead !

Nutty Chocolate Bread Pudding (serves 10)


What you will need:

Semi-Sweet Chocolate / Nutella Hazelnut spread                                     150gms

Dark Chocolate Chips                                                                            50gms

White Bread                                                                                           1 small loaf

Mixed Nuts (Pecans, Hazelnuts, Almonds), Chopped                               100gms

Single Cream (I use Amul)                                                                      450 ml

Milk                                                                                                        320 ml

Castor Sugar                                                                                            2 tbsp

Eggs                                                                                                        3

Demerara Sugar                                                                                      3 Tbsp

Butter, softened                                                                                       1 Tbsp

Vanilla Essence                                                                                       1 Tsp

Utensils:
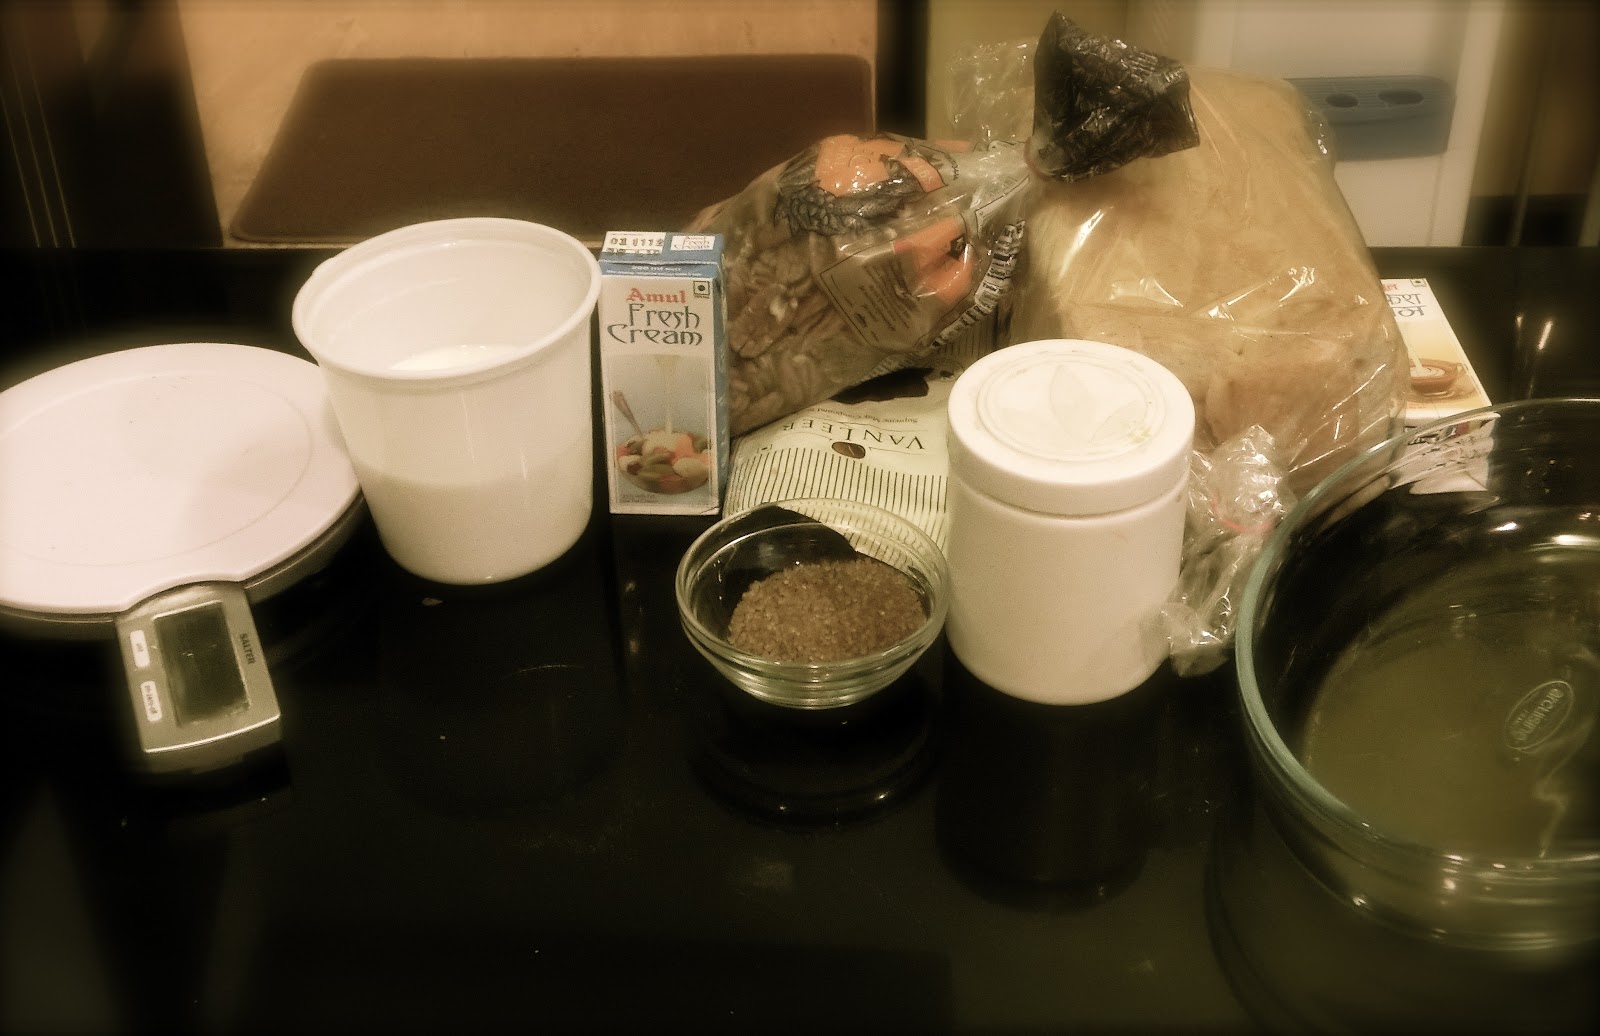
A round or Oval 13-inch ovenproof glass baking dish, One medium saucepan, one small saucepan, measuring scale, measuring spoons, a few empty bowls, a spatula, a pair of scissors, a few fresh spoons, a butter knife, a bread knife, a large oven proof baking dish 
(for the water bath)

How do you start:


1. Start by greasing your baking dish with the butter.


2. Next preheat the oven to 170 degree Celsius and cutt he bread slices into 4 triangles.


3.Then roughly chop up the chocolate and put it in a saucepan on double boil, until chocolate is melted and smooth. (If your using the Nutella spread, you can skip this step).


4. Once the chocolate is melted, spread the chocolate onto the cut bread slices and place in the buttered baking dish in a layers pattern, ensuring that there isn’t much gap between each bread slice.

5. Scatter the chopped nuts and choco chips randomly over the spread of chocolaty bread.


6. Now for the custard of the bread pudding, combine the milk and cream in a bowl until its smooth and free of any creamy lumps. To this creamy milk mixture, add the 2 Tbsp of castor sugar and combine. Now add the eggs, one at a time, making sure to combine well after each addition. Add the vanilla essence to this mixture and mix well.


7. Pour this creamy mixture over the chocolaty bread and nuts mixture. Leave to soak for 20-30 minutes. This step is crucial as it ensures a melt in your mouth, light and airy dessert.


8. After the bread has soaked for a while, sprinkle with the Demerara sugar (this gives the dessert a nice crunchy crust)place the dish in a bon-Marie (just a fancy way of saying a water bath). Here you can use a shallow baking dish large enough to fit you glass baking dish.
I suggest you place the dish in the oven and then pour in some hot water… this makes it easier to handle and ensures you not spilling the entire dish.


9. Bake for 40-45 minutes until the crust is a nice golden brown color and custard set. (you can test this by inserting a clean skewer in the centre of the dish and if it comes out clean… your all set!). 


Tip: after 30 minutes of baking if your top is already golden brown, but custard still not set, cover the top with some tin foil to prevent over browning.

Serve this warm with fresh homemade custard.


Now, as promised, simple and easy steps to fresh, silky smooth custard.

Custard Sauce

What you need:

Milk                                                            220gms
Butter                                                            30gms
Vanilla Essence                                             1 Tsp
Castor or Breakfast Sugar                             60gms
Egg Yolk                                                       3
Flour                                                             40gms
Water                                                            90 ml

How to :

Firstly combine the milk, butter, sugar and vanilla essence in a saucepan on low heat. In a separate bowl, mix together the water, flour and egg yolks until well combined (the mixture would be slightly watery).

As soon as the butter and sugar melt, slowly start adding the water and flour mixture to the milk and butter, while continuously whisking. ( If you do not whisk, the sauce would turn out to be quite lumpy and not silky smooth.)

As soon as all the flour and milk mixture is combined, take the pan off the heat and after giving it another quick whisk, transfer the mixture to a cool bowl, and let it stand at room temperature until just warm.

Tip: Cover the custard surface with some aluminum foil or cling film to prevent it from forming a skin.

Serve the custard sauce at room temperature or slightly warm with the luscious and chocolaty bread pudding, or any other favorite dessert.

Wednesday, December 26, 2012

Easy homemade Sweetcrust Pastry


The decadent aroma of a freshly baked blueberry pie (strawberry, apple or whatever pleases your senses) beats any other experience. I’ve always wanted to try baking one of those delicious pies that leave people salivating… But the thought of making pastry has kept me astray. Until recently, I presumed baking a pie was a job only to be undertaken by trained pastry chefs or even those few gifted ones. But honestly it’s not the rocket science I assumed it to be. 

Actually, its quite easy… once you get the hang of it. Of course you are bound to stumble a few places if it’s the first time you are setting foot on the wonderful path of baking. But that too will pass…

Sweet Crust Pastry

So basically, the base for a pie, or a tart is called ‘Sweet Crust’ pastry… and it’s not that much different from a ‘Short crust’ pastry, difference being the addition of sugar in the Sweet crust pastry. A recipe for sweet crust pastry can be used for all types of sweet pies and tarts and you can also make a few types of cookies… the kind that are heavenly when had dipped in a hot cup of tea.

Ingredients

Plain Flour                        200 grams
Butter (Softened)            150 grams
Icing Sugar                        60 grams
Egg                                    ½
Vanilla Essence            1 tsp
If you wish to make an eggless option (though I suggest you don’t), instead of adding the half egg you could add about 20-30 grams of water.

As I said its quite simple… Just make sure you are scientific with the measurements and the rest will take care of itself.

Method:

1. Combine all the ingredients together in a bowl and mix using your hands (it feels a bit crummy but it turns out way better than using a mixer or blender… its all in the touch you see). Use a plastic scraper in one hand to gather together the mixture and with the other hand just knead the batter to form dough like consistency, ensuring that there are no lumpy bits. And that’s pretty much it… 

2. Just spread the dough on butter paper or cover with cling film and pop it into the fridge to rest ideally for 30 minutes (the more you let the dough rest the better it is to roll out. Once your dough has rested, you can use it to make one big luscious pie or you could divide that buttery crust to make 2 individual sized pies, a few tart cases and a few of those divine cookies as well.

3. All you have to do is roll out the dough, on a baking paper, to a ½ inch thickness, gently lift from center (its better if you lift with the baking paper… less chances of the dough developing cracks) and flip it down on the pie or tart case. Use your thumbs only to gently slide the crust into the mould. Be cautious not to push the crust a the bottom, instead move your gently from bottom to top rotating around the mould.

If you have plenty of time and cooking is all you have to do, I suggest popping the sweet crust lined pie case in the fridge for 15-20 minutes, so it is cold when it goes into the oven. If not and you want to indulge in the pleasure of a freshly baked pie very soon, fill the mould with your favorite filling, cover with more sweet crust, brush with egg wash and bake for 20 minutes and there you have it, a fresh pie with a decadent aroma. 

All your baked pies will pretty much follow the same steps. 

But if you are doing a chilled pie, such as Italian chocolate pie… you will first need to blind bake your pie case and then fill in. Don’t worry… blind baking is simple. All you have to do is line your sweet crust with baking paper, spread with baking beans (you can use chick peas as a substitute) and bake in a 170 degree preheated oven for 15 minutes. After 15 minutes remove the baking paper and beans and continue baking for another 5 minutes. And there you have it, a pie case ready.

For Tarts you have to bake the pastry first and then fill in. But before baking, all you have to do, is pierce the bottom of the crust with a fork several times (this is important as it helps release the air bubbles an lets the pastry rise evenly), then pop it in a 170 degree preheated oven for about 15 minutes, or until it starts getting a golden color on the edges. Cool the tart cases before filling in.

Now I did promise that you could get those absolutely heavenly cookies form this thing we call sweet crust… and of course I never lie (maybe just sometimes… I am human!). So, how do we turn this batter into delicious cookies, you ask? Well, this is perhaps one of the simplest ways to make a teatime cookie I have ever come across.

I call them cinnamon dips (…Cause I like dunking them in a hot cup of coffee/ tea). To the dough, just add about 1tsp of cinnamon powder and about ½ tsp baking powder and mix well. (If you like, you can add more cinnamon, but this is perfect). Make small balls, roll into some castor sugar and spread on a greased baking tray. Using a fork, flatten out the sugar balls, forming a pattern on top of the cookies. Bake these in a 170 degree preheated oven for 15-20mins (until golden) and there you have it, lovely luscious teatime cinnamon dips. (FYI let the tray cool a bit before you decide to remove the cookies… I wouldn’t want you to burn your hands… let alone dismantle the cookies :P)

Now are we on the same page… Isn’t it simple to make your own pie or tart??? Simple but yet delightful.

Birth of Baker's Journal


As a young 13 year old, when we are swaying between career choices, it was either succumbing to family pressure of ‘become an entrepreneur’ or listening to my own heart that said ‘give cooking a shot’. Well I opted for the former. 

Joining a business institute right after school, while having cleared some of the toughest hospitality entrance exams, I decided to make daddy happy and become a successful businesswoman. Took up an advertising job for two years, and I think I was pretty good at it. But one day, a spark set off in me and I knew that I just could not do this anymore. So, I quit my job, spoke to daddy and started applying to schools abroad to actually understand what the hospitality industry was and give it an honest shot. Well, to say the least, I found out that it was definitely meant for me. Something about being in the kitchen just gives me happiness. I could be cooking my favorite dish, entertaining friends’ requests or just experimenting with new flavors, but all of it just brought me peace and serenity. Almost like I was in a deep trance, away from the universe, meditating up on the mountains. As any food enthusiast aspires to, I dream of owning and operating a fine restaurant in the city I love. But all good things have a way of making people wait for them :P

Well ashes to dust, my love for food is so strong that I decided that if I cant have that restaurant I will just write about food. Starting from the basic ingredients, to family favorites, to international flavors, I intend to write about food that makes me happy and food that I feel you all should not miss out on.

What exactly are you going to find here… Everything that is food… Well almost everything. This is not just another webpage full of baseless recipes that sound good … but its more of an experiential food journal. The content here is based on my extensive travel and experimentation with food.

Enough about me … Lets get cooking!!